29 August, 2009

We're Moving!

...And by "we," I mean me.

And by "me," I mean this blog.

Yup. It's all at ChickenHaunt.blogspot.com


So go there now, not here.

10 June, 2009

3-Axis Frankenstein Sculpted and Molded!

Here's where he's at now.
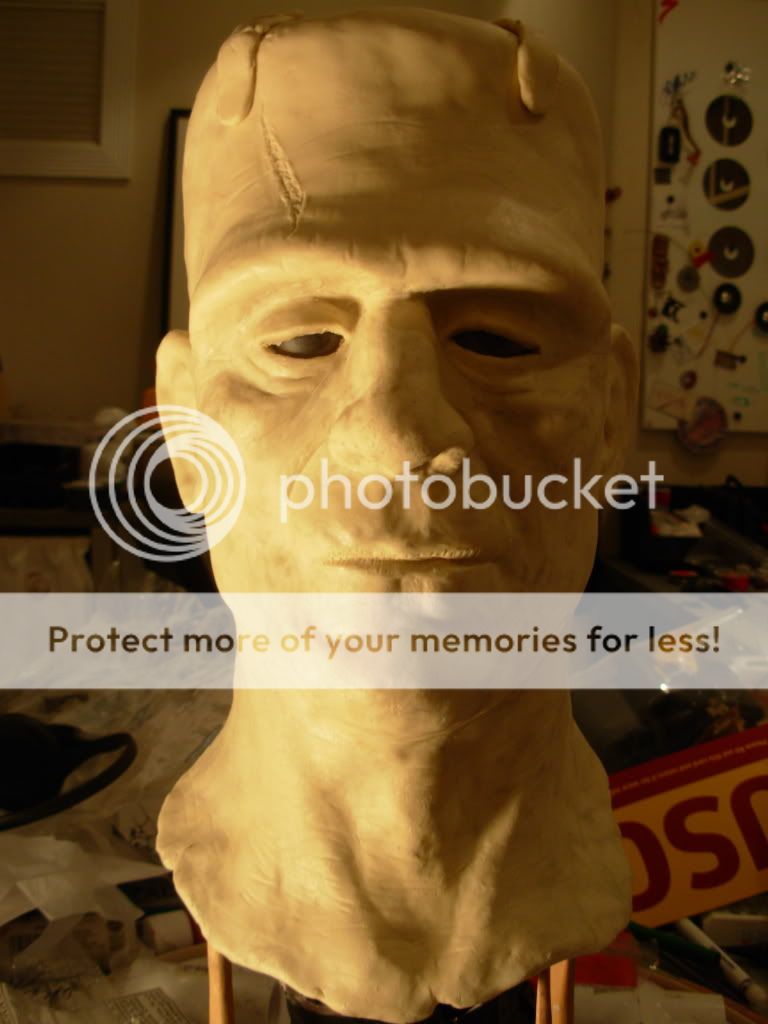




Plaster time! I started making the mold a while back.
First the mold walls built around the first half of the sculpt...

Then two brushed on layers of UltraCal-30 (actually, the picture is only of the first layer, but you get the idea)...

Then a thicker layer...

And an even thicker layer...

And then I ran out of U-30. I had to order some more from MonsterMakers.com.


I saw this nifty little trick to make a flat surface for the mold to sit on in Lee Baygan's book.

It worked out pretty well.

Here's the underside with the escape holes modeled in (before I cleaned up the edges and keys with a dremel).


I finished the second half of the mold a a few days later, having coated the the exposed U-30 of the first half with vaseline. It's about four layers of plaster, a layer of burlap soaked in plaster, then another layer of plaster.

I managed to separate them after a half hour of shoving pliers and paintbrush handles into the escape holes...
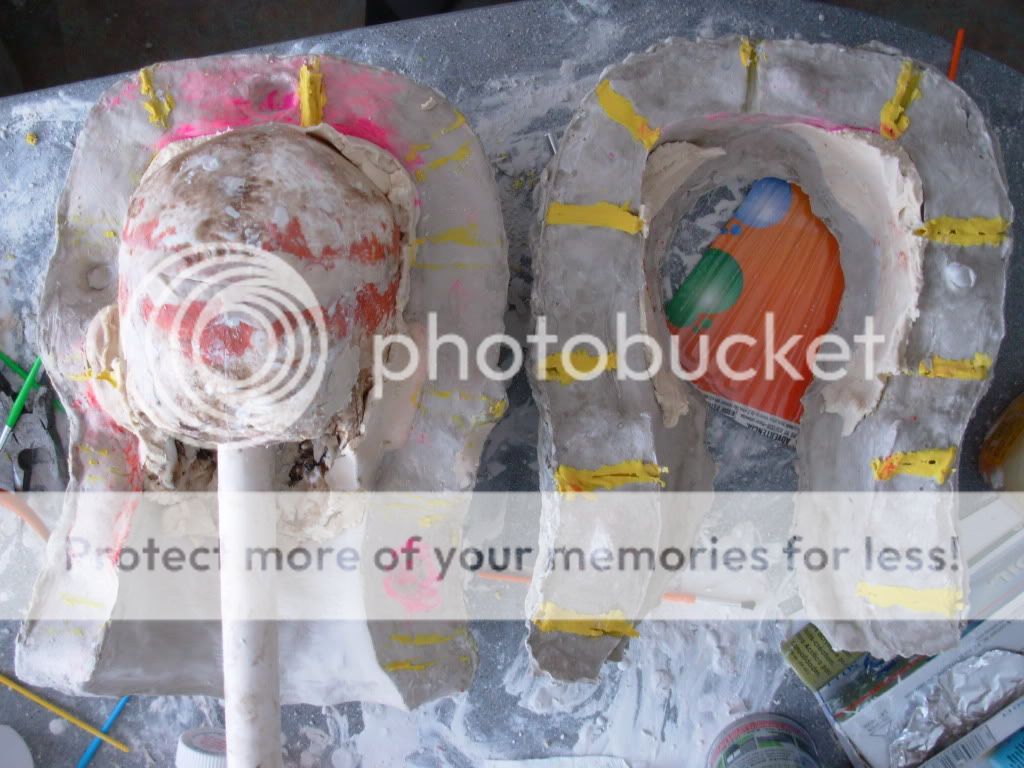
Then I spent an equal amount of time trying to get the skull out. I ended up working the jaw off, then using the PVC (which was screwed on) as a lever to work it free...

Finally, I cleared out the plaster (which came out very easily because I sealed it)...
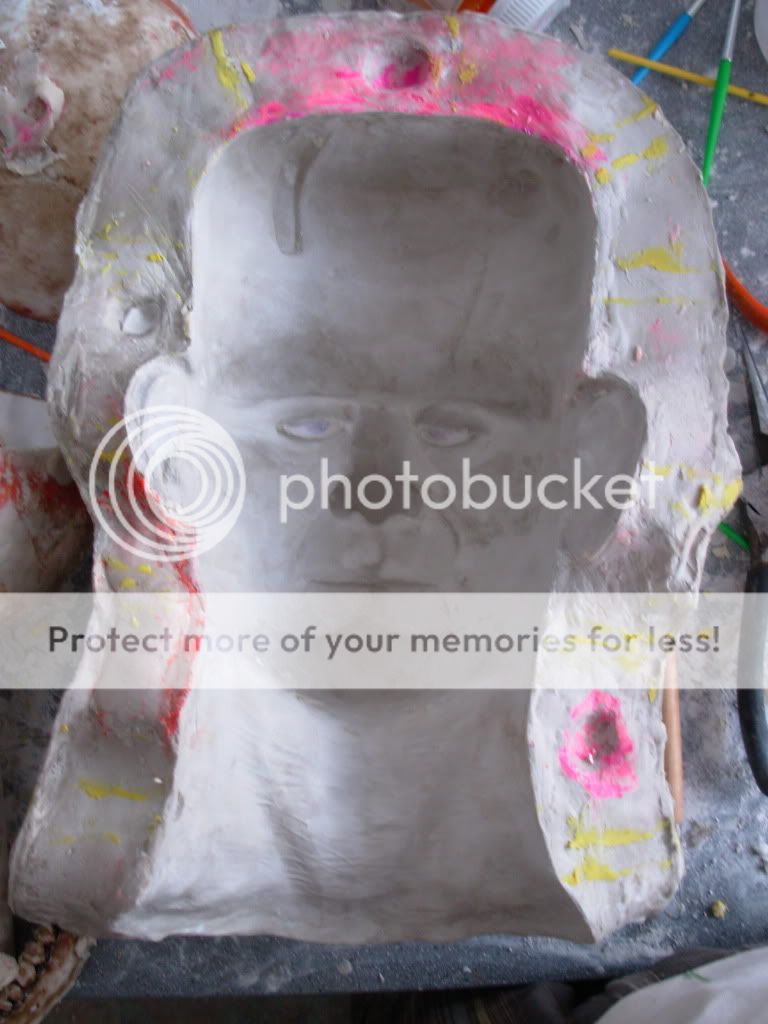
I think it came out pretty good. There are some imperfections which (I hope) I can easily clean up, but overall I'd say it's in pretty good shape.

08 April, 2009

3-Axis Frankenstein in Progress

I'm getting really excited about this prop, so I thought I'd spill the beans sooner, rather than later.
I'm going to make a foam latex "skin" for one of my 3-axis skulls that is a reproduction of Jack Pierce and Boris Karloff's Frankenstein makeup.

At this stage, I'm beginning the initial sculpt in modeling clay over a Lindberg skull. Future steps involve making both a mold of the final sculpt and a duplicate of the skull in Ultracal (a type of plaster), filling the mold(s) with foam latex, baking the thing, hoping it comes out okay, and painting the final skin. If all goes well, it'll be like having Karloff the Uncanny in person!

Here's the sculpt so far. It's got a long way to go, but I'd say it's beginning to shape up pretty well.

Photobucket


It's sculpted around this skull as a base

05 April, 2009

Madame Leota How-To

Although I'm sure most interested parties have already seen this, I posted a tutorial for my Madame Leota effect on HauntForum.com a few months back: Conjuring Madame Leota

The projection loop, in low quality form, is on Youtube, but I've been sharing it with other forum members, so shoot me a PM if you want to use it.

25 January, 2009

2008 Yard Haunt Video Completed!


It's widescreen, so it doesn't display properly here. Click the post title to watch it on Youtube. Be sure to click the HQ/high quality option.

15 January, 2009

Alf Re-skinned

This is Alf* (front and center) as he appeared in 2006.
Photobucket
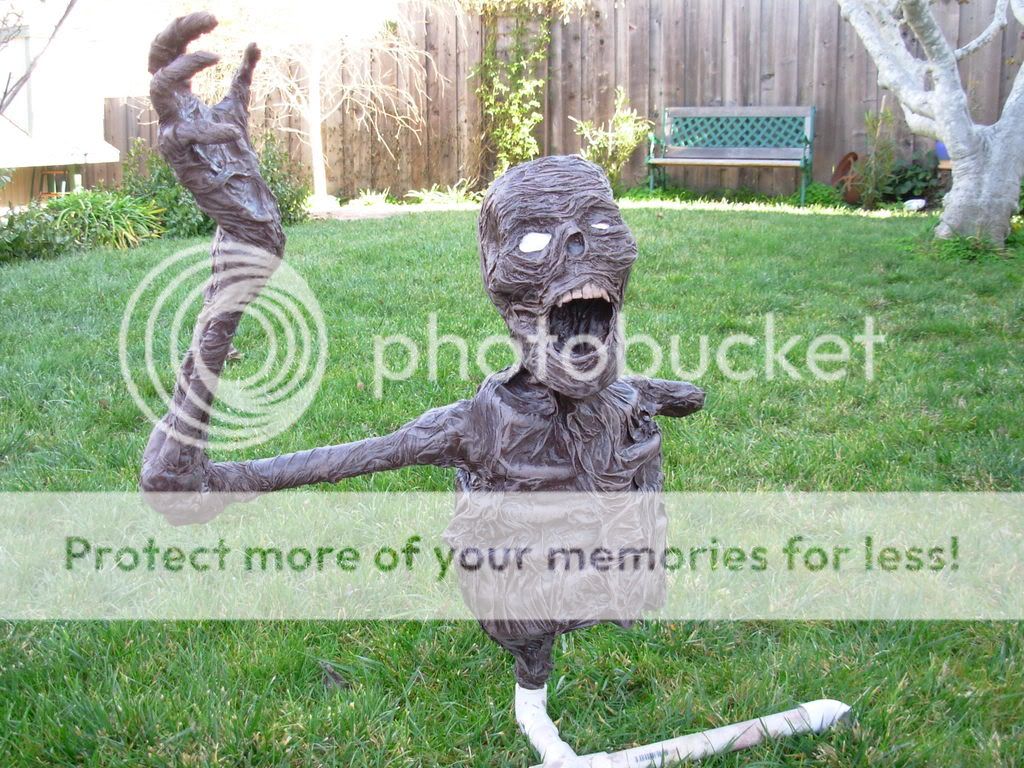
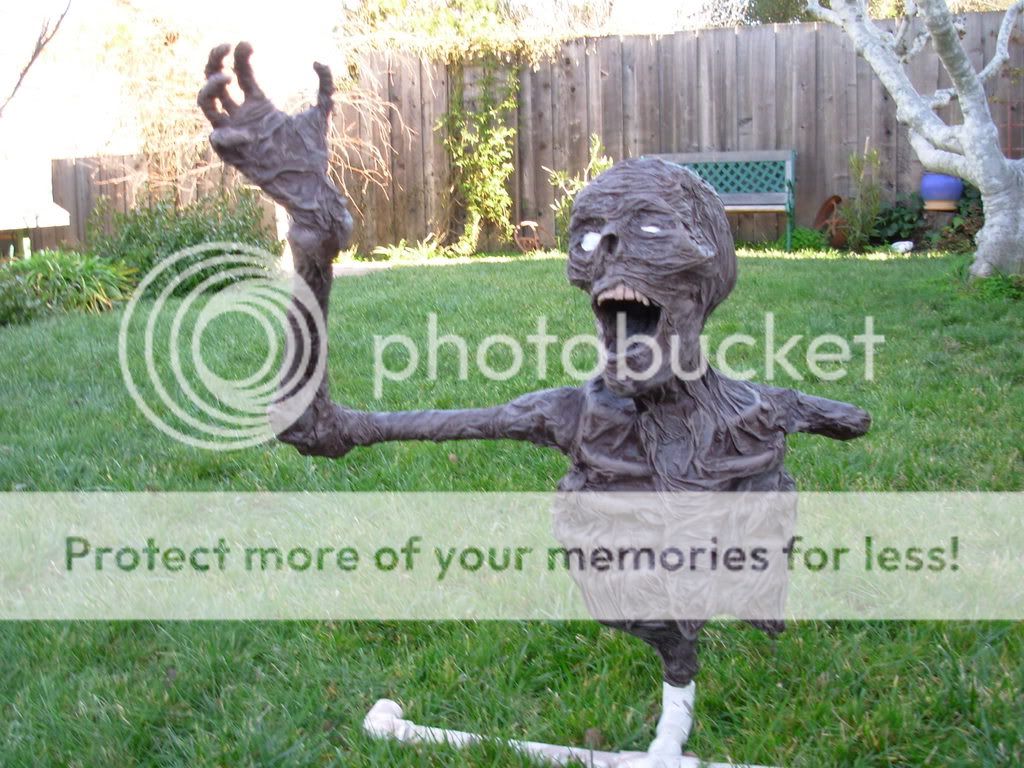
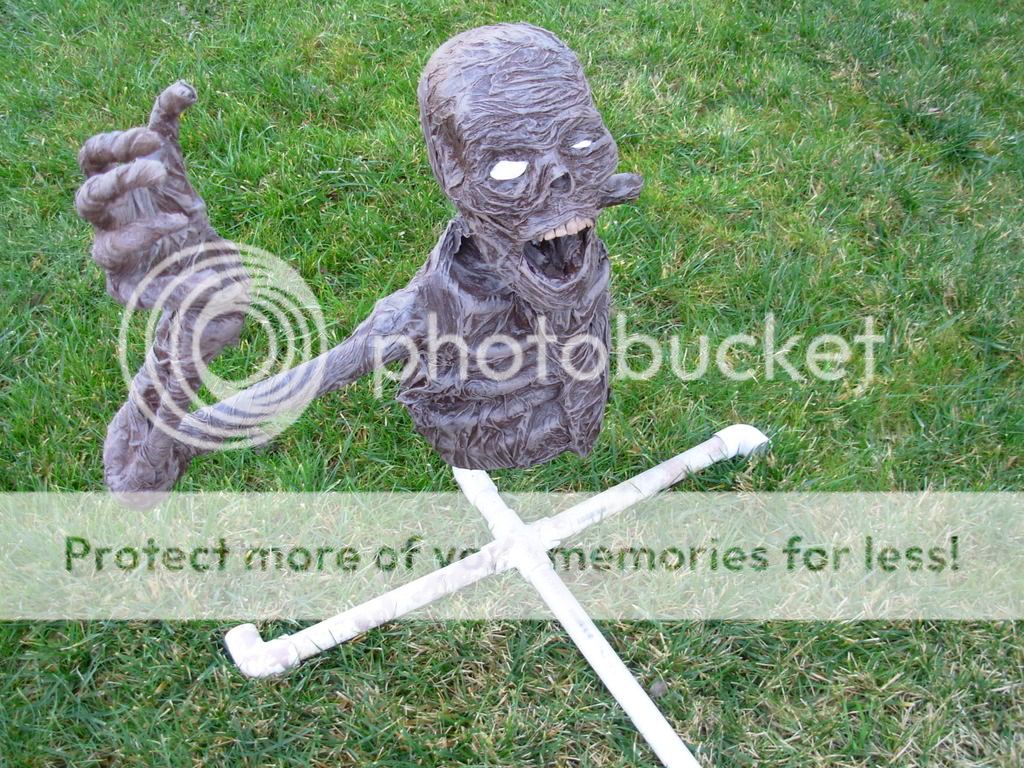
Pretty cool, but after two and a half years in the attic, he was getting pretty decrepit. So, in true Frankenstein fashion, I kept his noggin and made a better, stronger body for him. This is the new, improved (and heavily Pumpkinrot influenced) Alf:


I like him much better now, don't you?

Basically, the old torso was made exclusively out of newspaper and flour-and-water paper mached paper towel skin. The new Alf's bones are PVC pipes with newspaper ribs, and the skin was soaked in latex-based paint for a much more heavy duty deadness.

*Yes, he does have a brother named Ralf. He's next in line for a redo.